
Here I worked on a rocky landscape with SOPs using a few techniques.
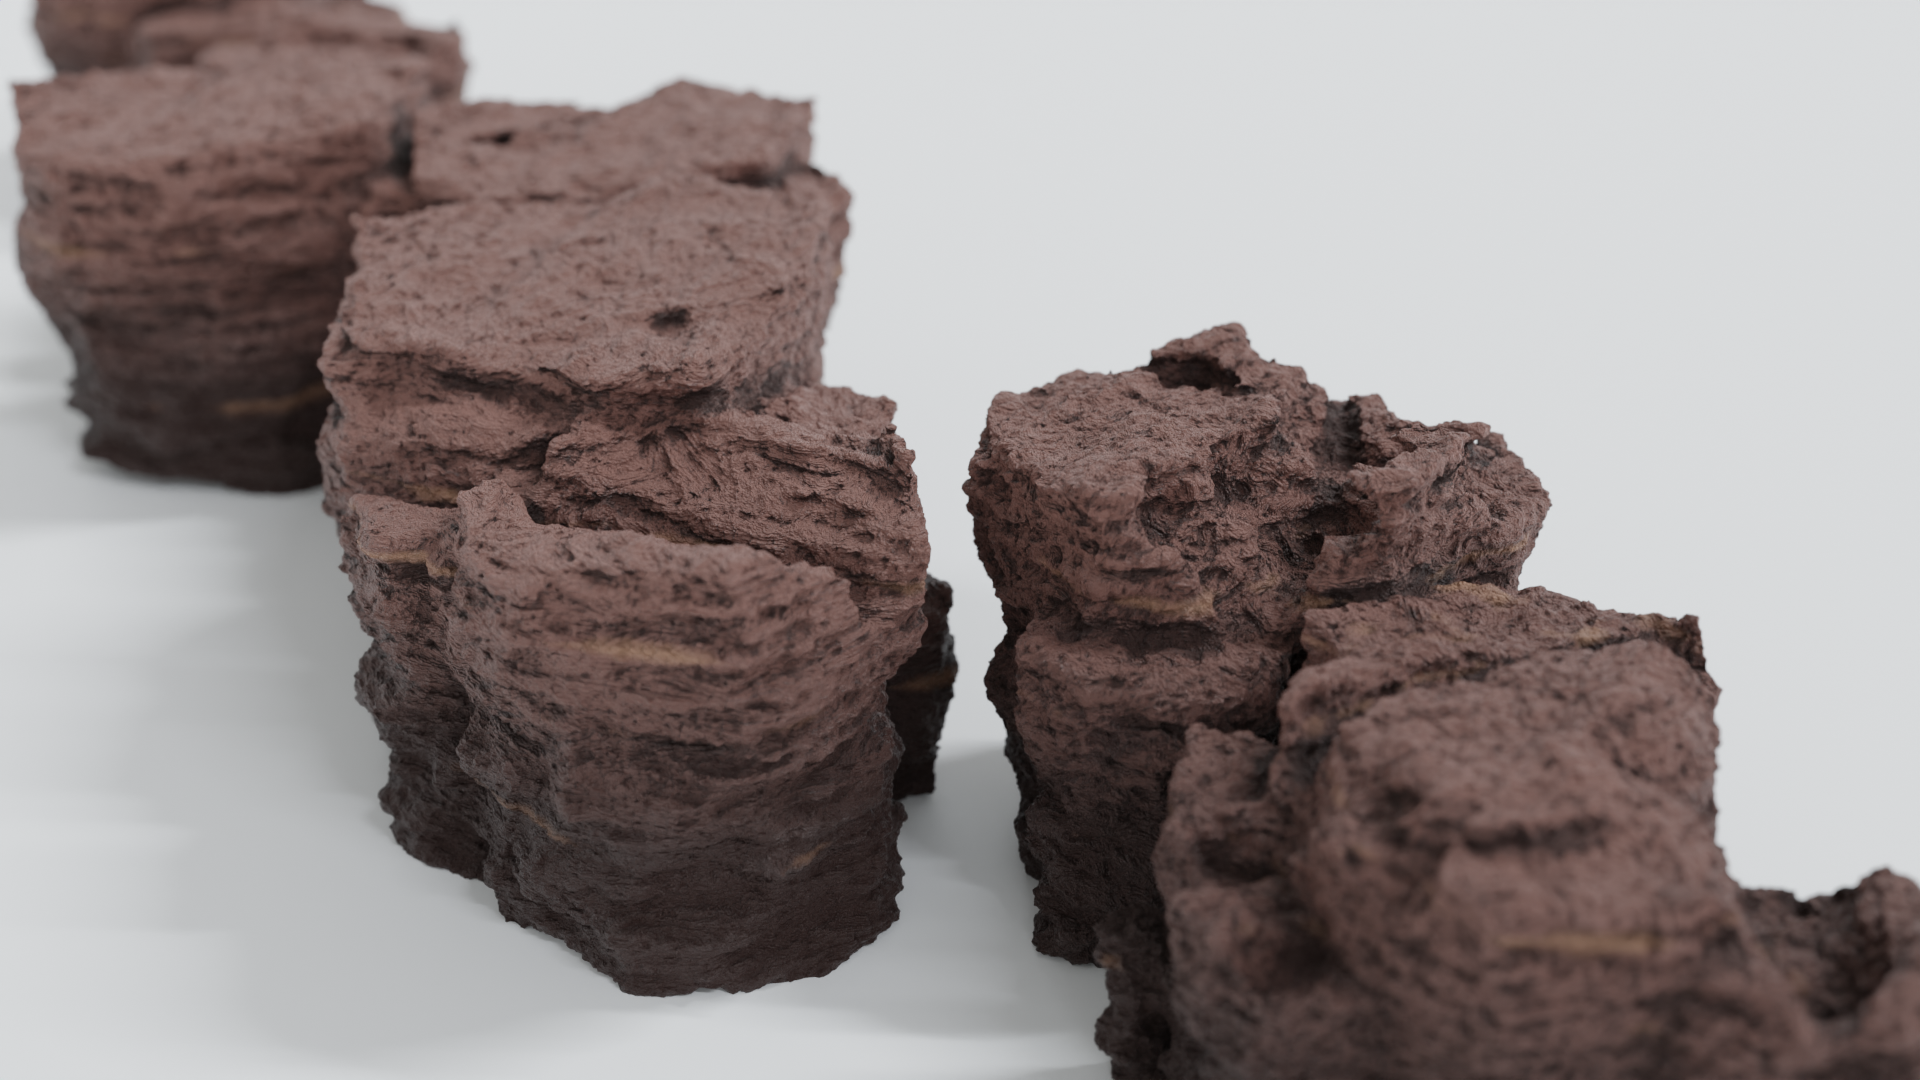
For this particular project I wanted to make an old - now dry - rocky landscape that had been ravaged by environmental conditions.
In the shot where these rocks would be featured, the camera would view them from top down. This influenced where I‘d scatter the rocks to be able to see as much of their detail as possible.
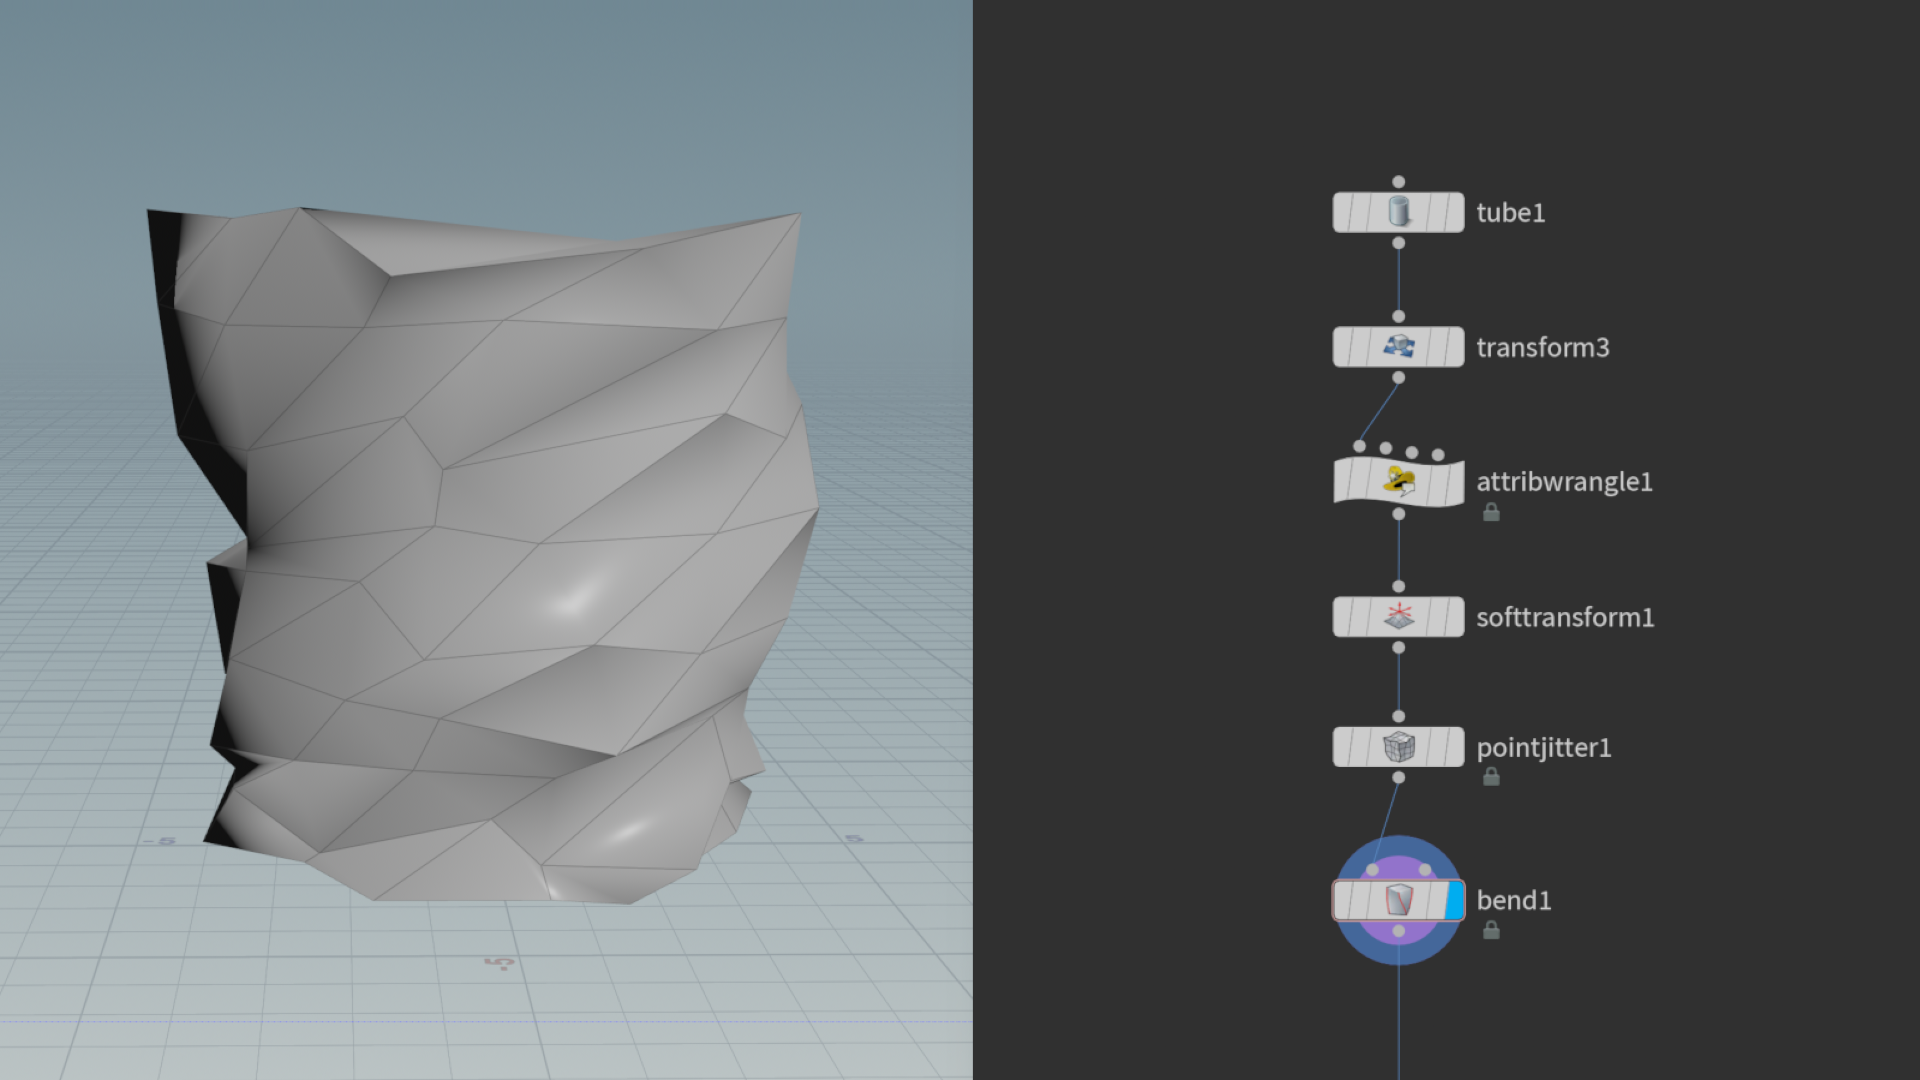
I started by creating a really low poly shape. In my case I used a point jitter to add a bit of noise and bend to twist the top of the shape to hint at the sedimentary bumpiness even at this low poly level.
Then I created some geo to scatter the points where the rocks would be instanced.
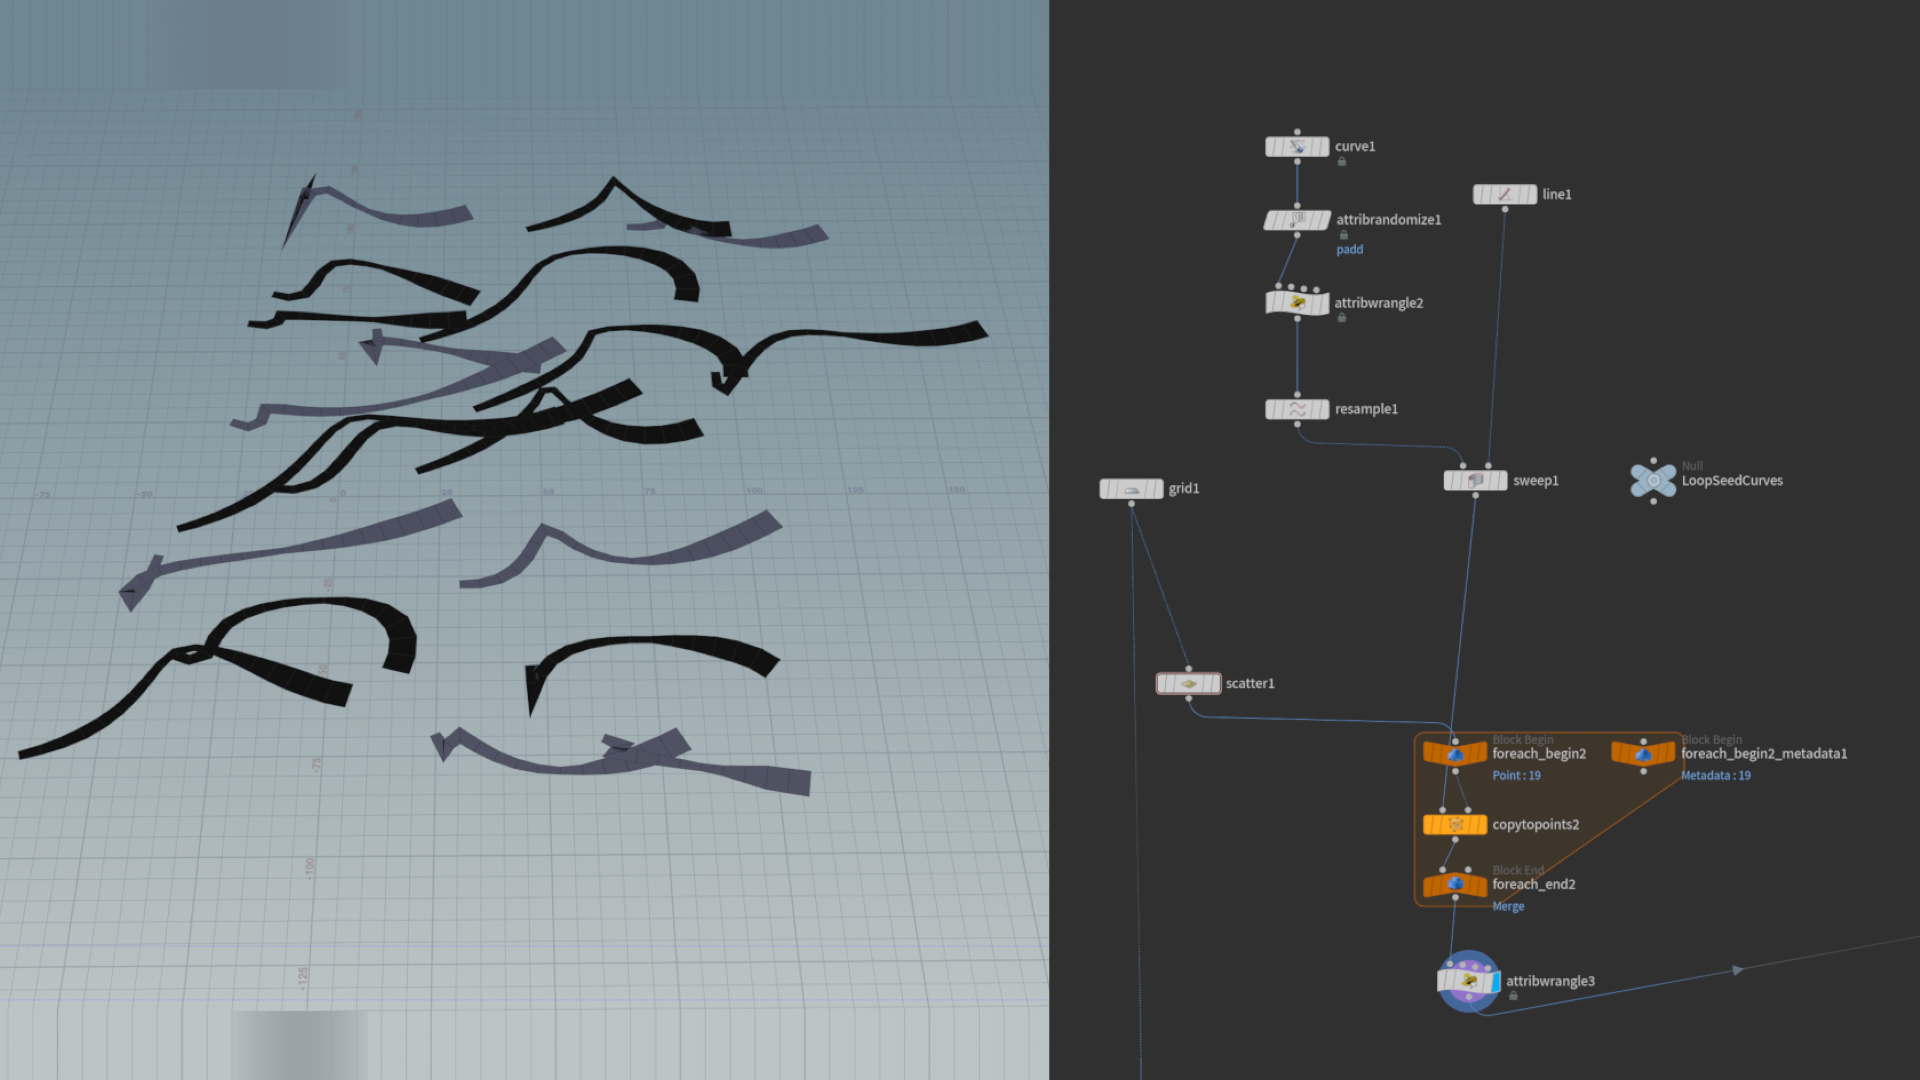
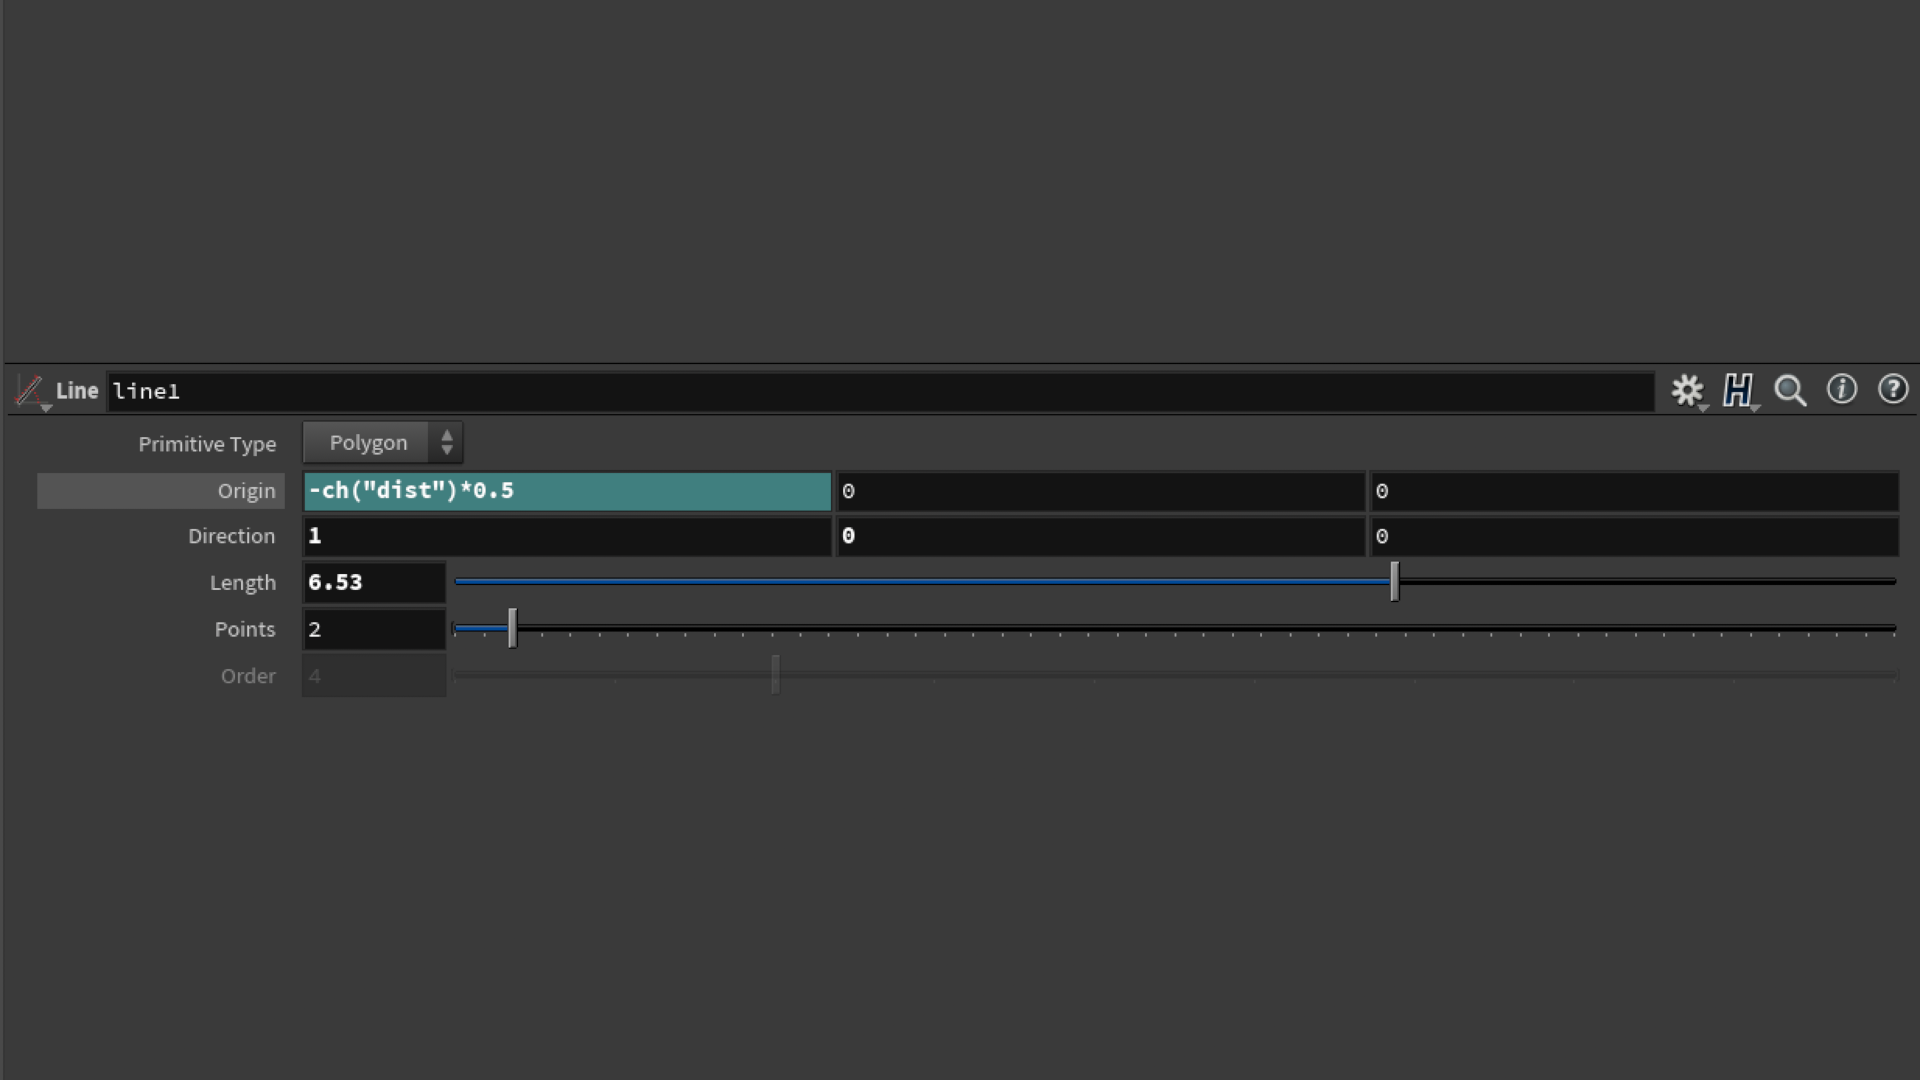
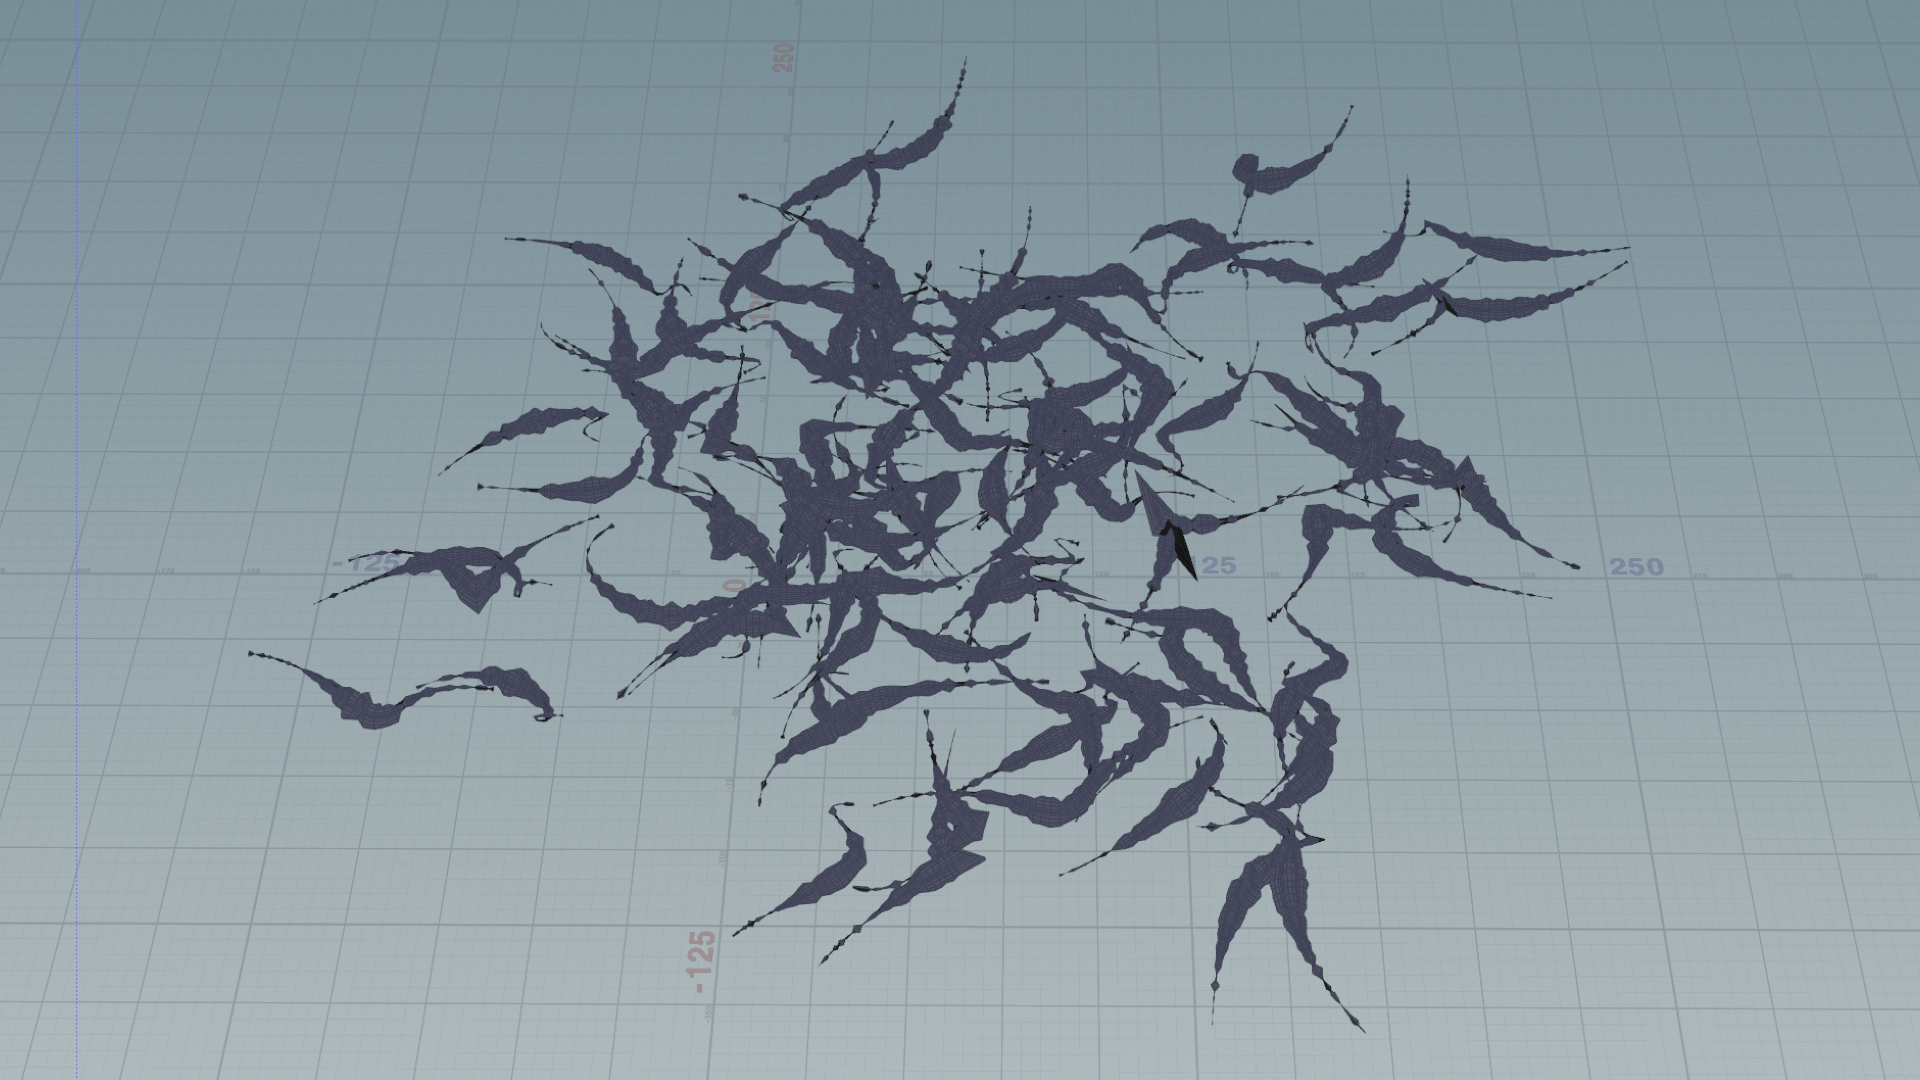
I scattered some curves that had been turned into faces with a sweep node, using a line as the cross section of the sweep. To have the line be in the center through the sweep, you can copy the parameter of the x direction of the line, and set the origin to -0.5x of this value.
To get the curve to different for every copy that was scattered I used a technique I will demonstrate below, as the same method was used to vary the scale and rotation of the scattered rocks.
The points going into the for loop in the above image are points scattered on the geometry we made from curves earlier.
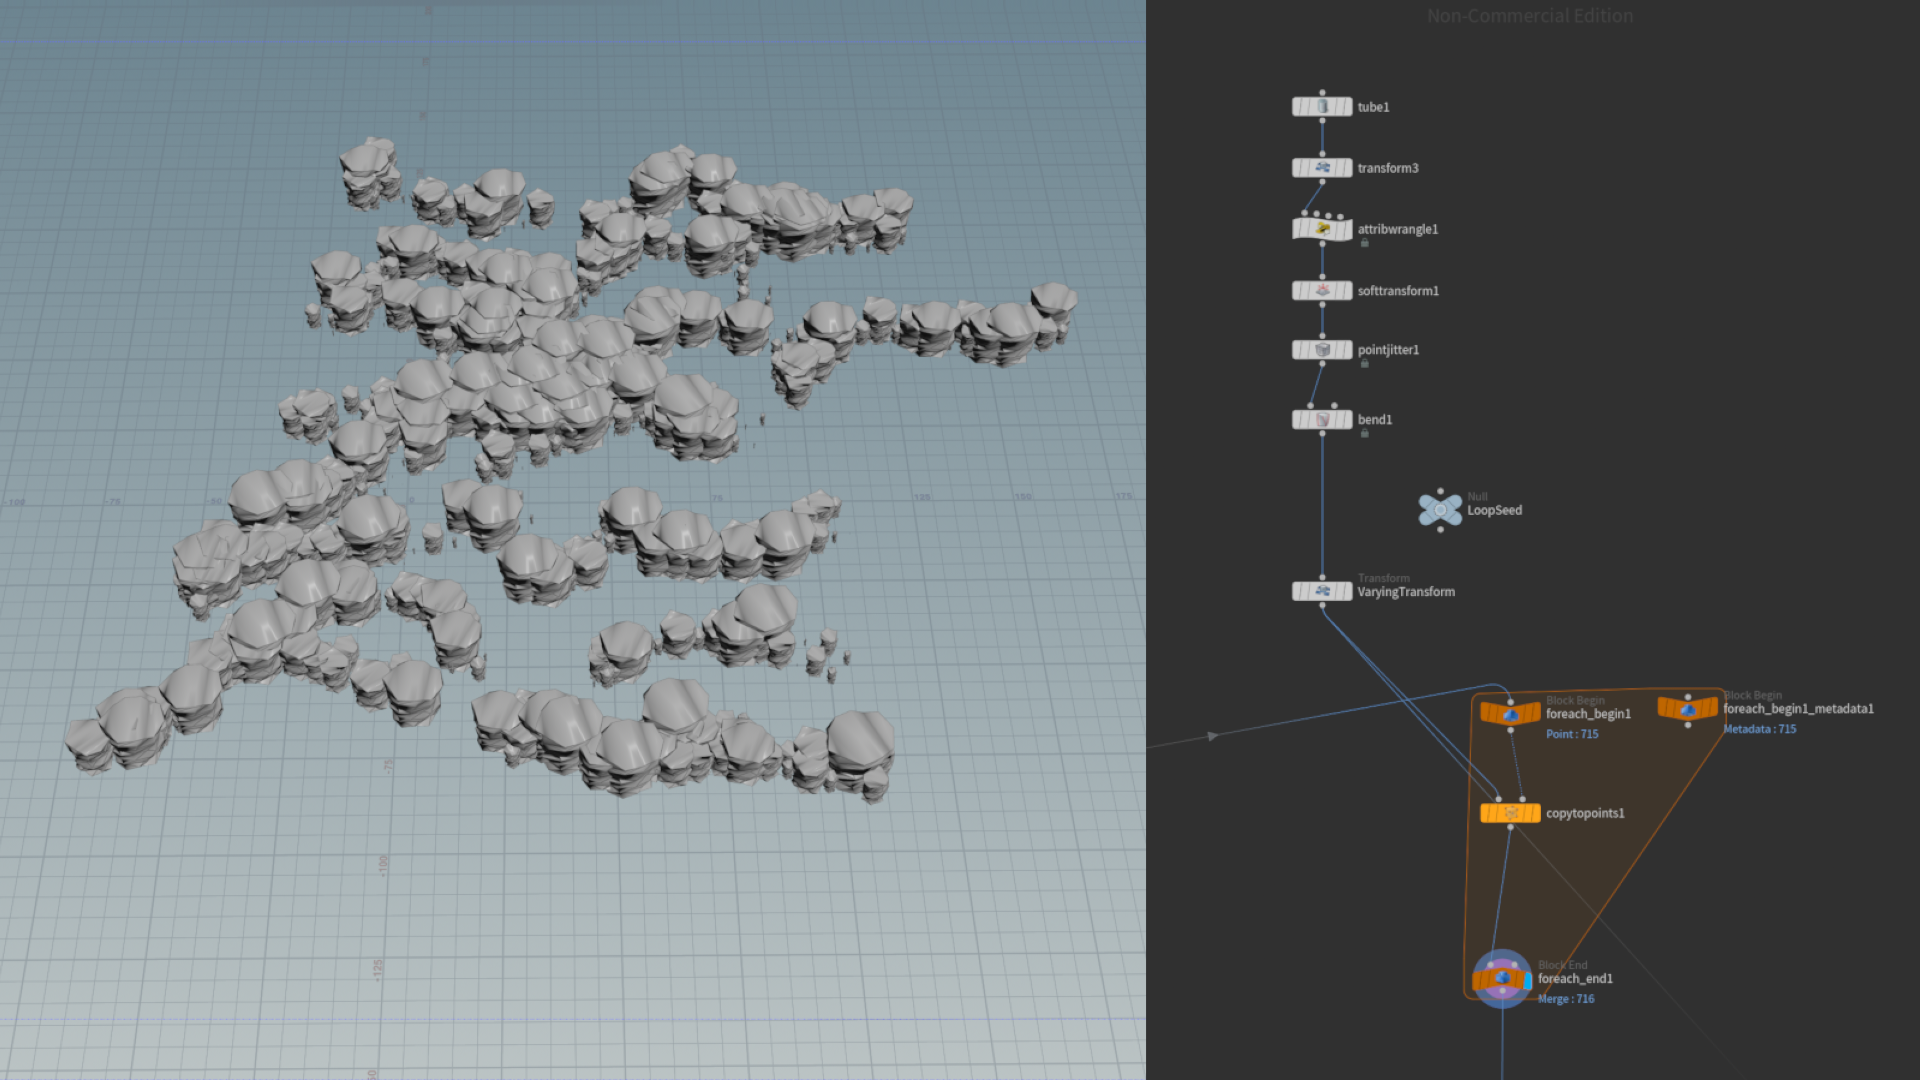
I made this null called LoopSeed, which contains one parameter, a reference to the for loop's metadata node, which drives a random interger seed:
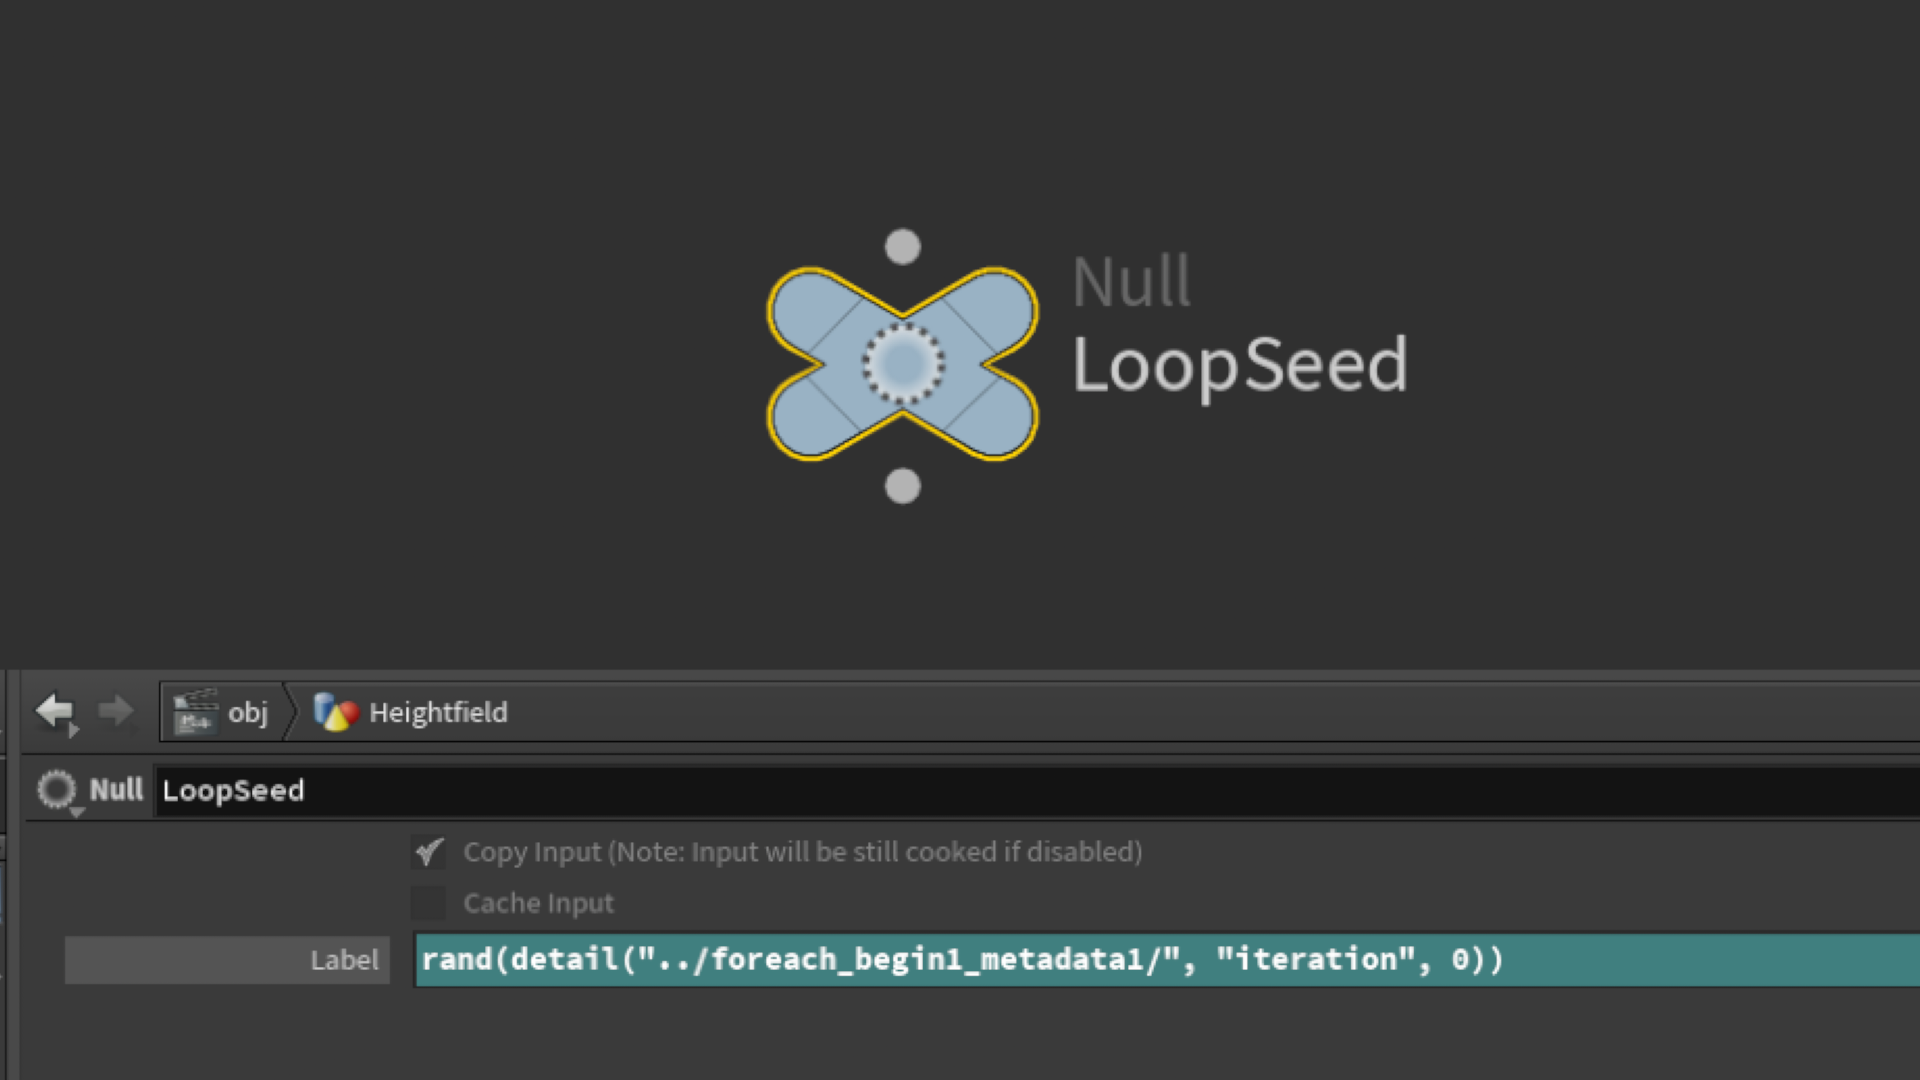
I could then copy this parameter and reference it in other parameters of nodes that exist before the copy to points. You can see in the second to last image above a transform called VaryingTransform, this uses the parameter in the LoopSeed to vary the scale/rotation of the basic rocks.
I reused the same techniques above to create geometry I would use to subtract from the rocks, to add dents to the terrain and provide more detail.
I converted both the scattered rocks and dent geometry to vdb and subtracted them from each other.
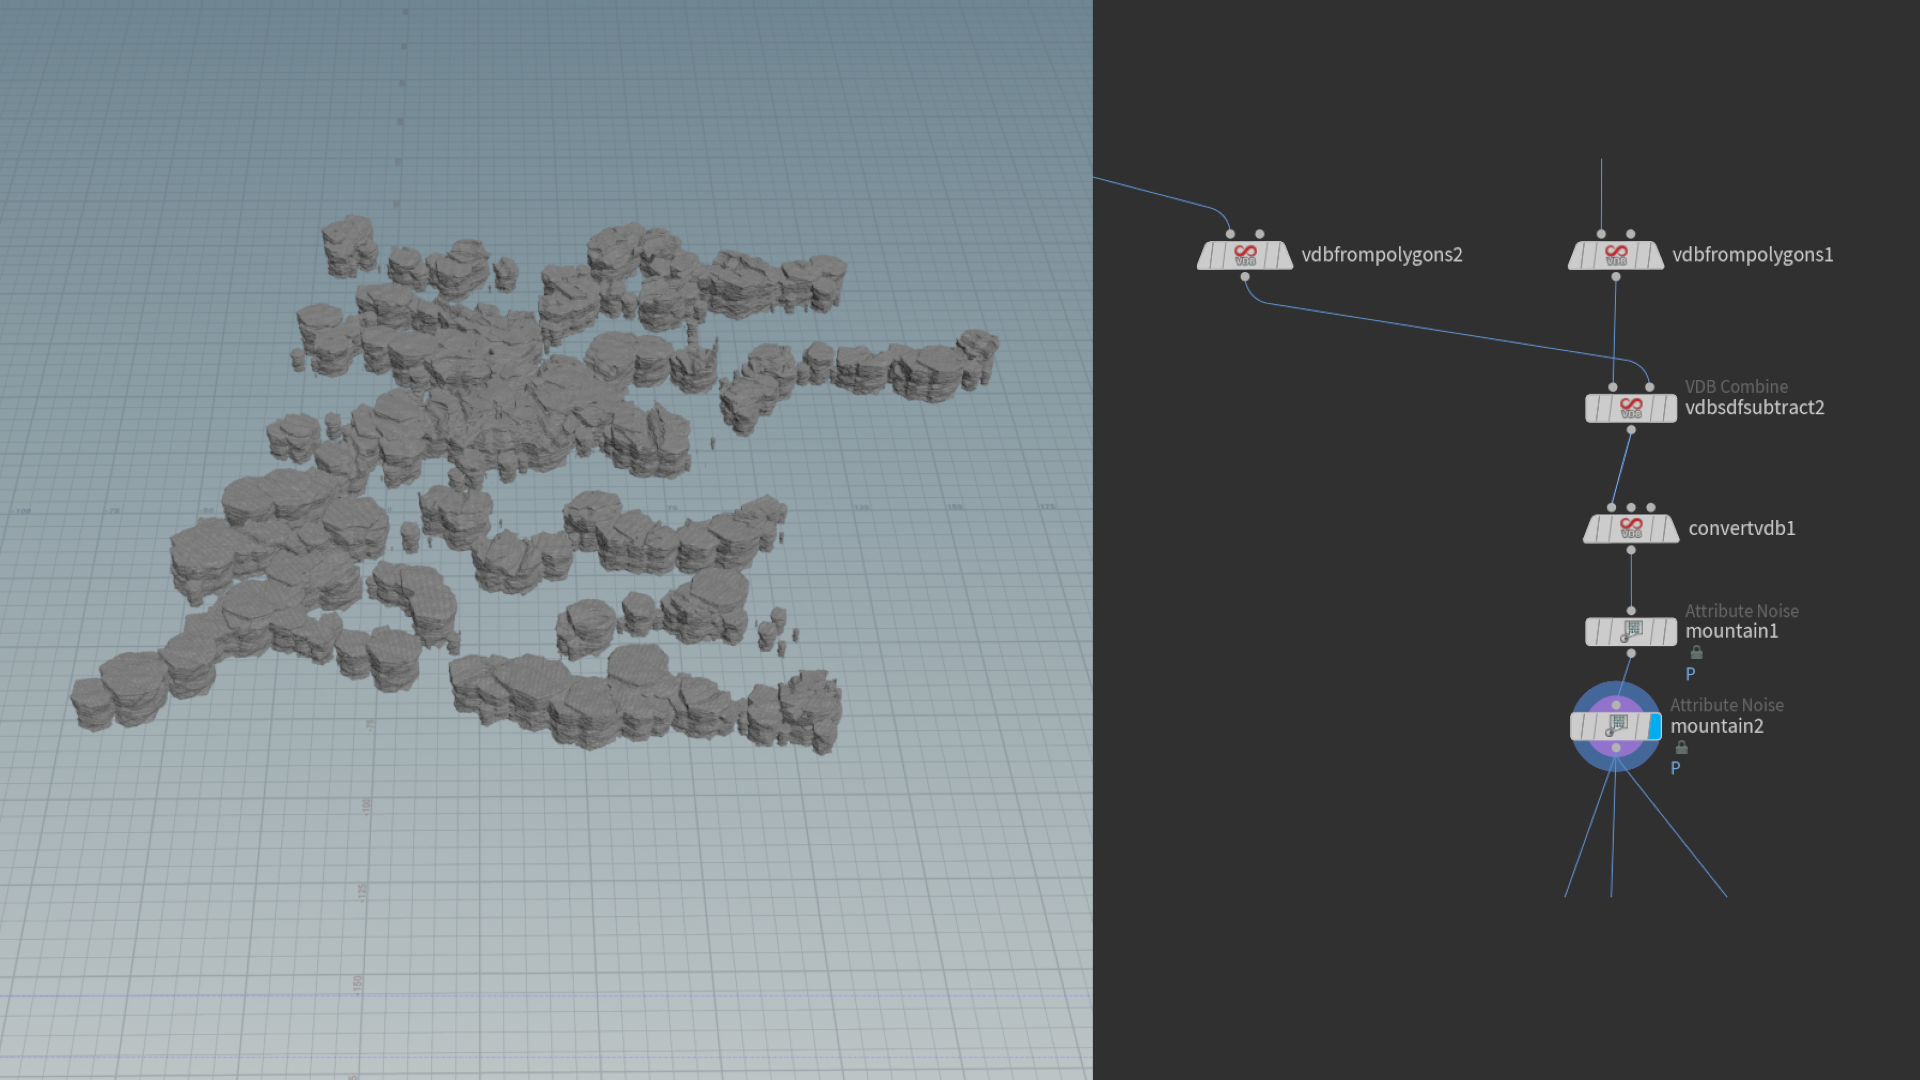
Converting to vdbs and back to polygons allows for nice boolean operations as wells as allowing to easily add more resolution to your geometry and cleans up any intersecting geo!
I finally added a couple more mountains for some further displacement and detail.
To render, I exported the model to Blender and used Cycles.
Blender is a little slow and handling and manipulating large amounts of geometry, but if you aren't tweaking vertices it is not too bad, just the resulting file can be quite large.
There is a quick technique to add a nice gradient to the rocks that does not require them to be UV'd (I wanted to do this as the top of the rocks would be more dry and dusty due to being more exposed). Placing an empty axes in the scene and referencing its position in the y direction:
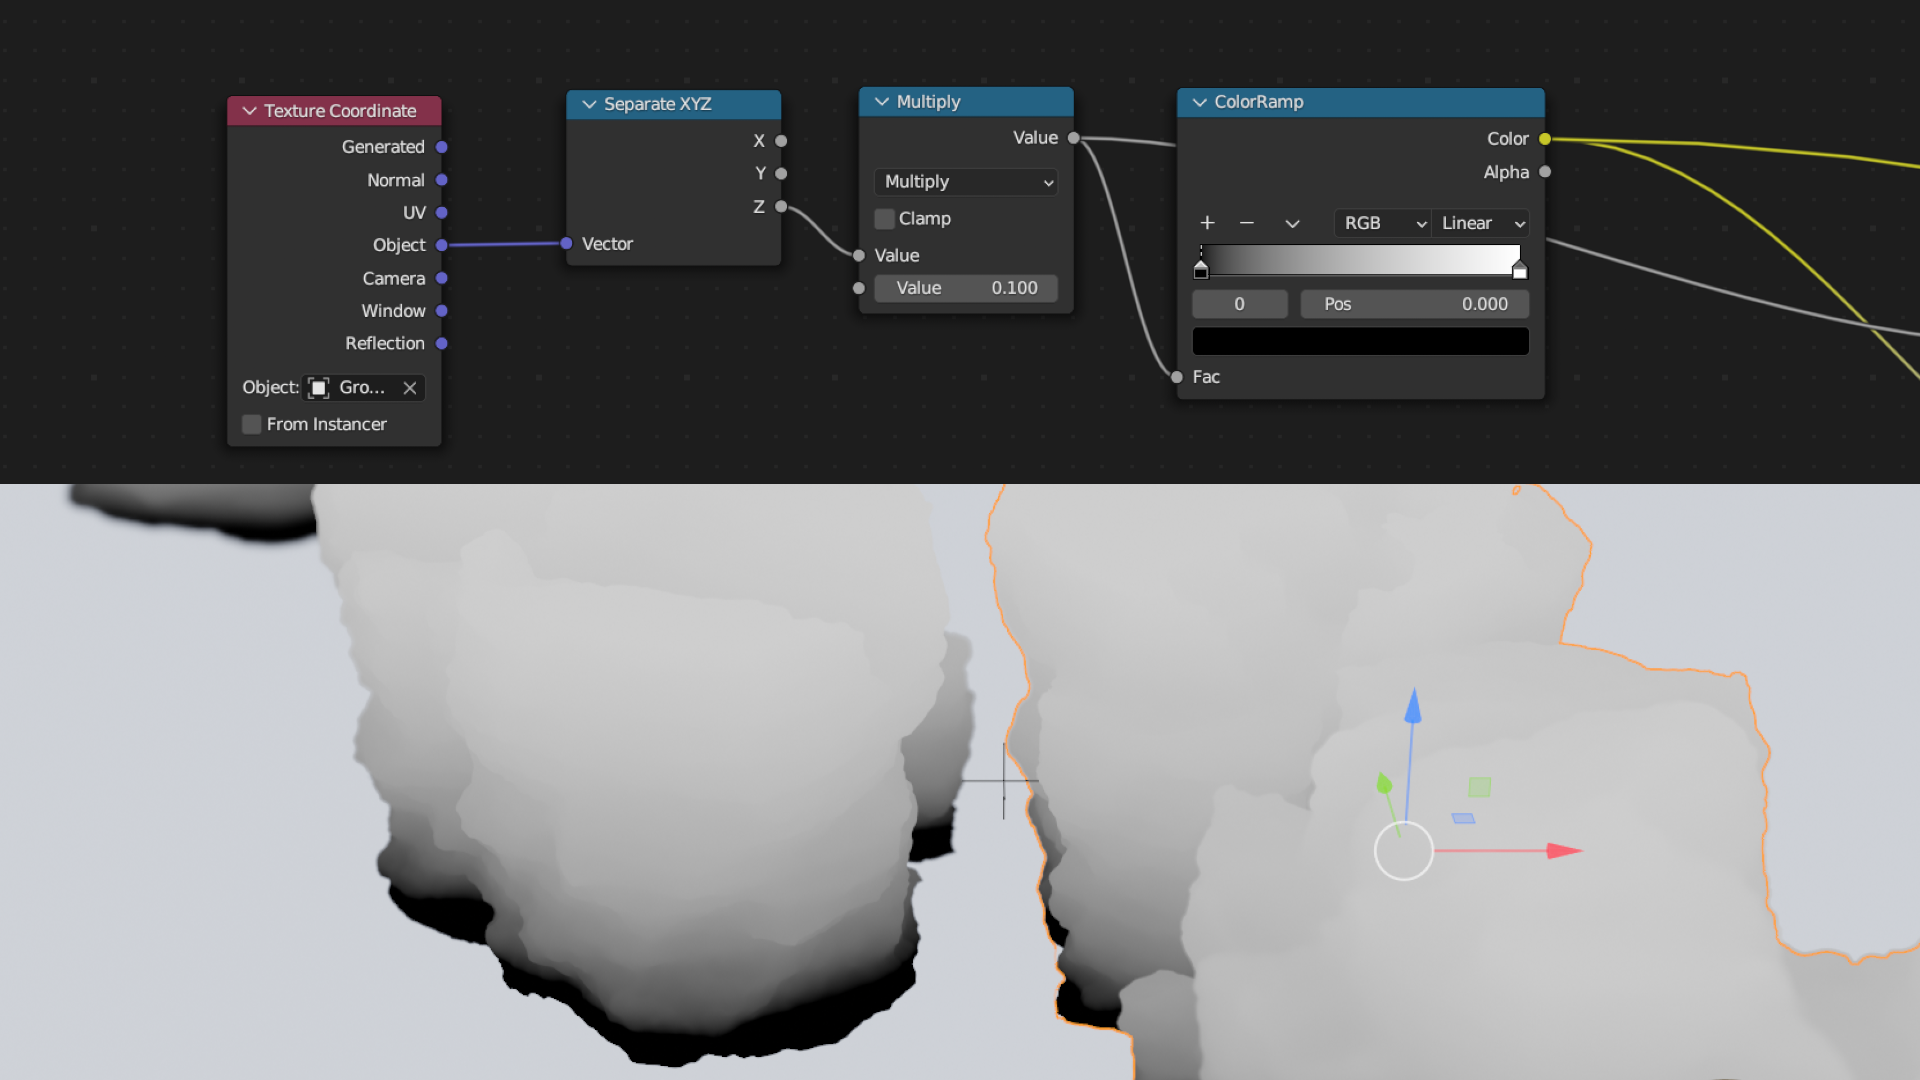
You can even use this to add variation across the top of the rocks to achieve that sedimentary look.
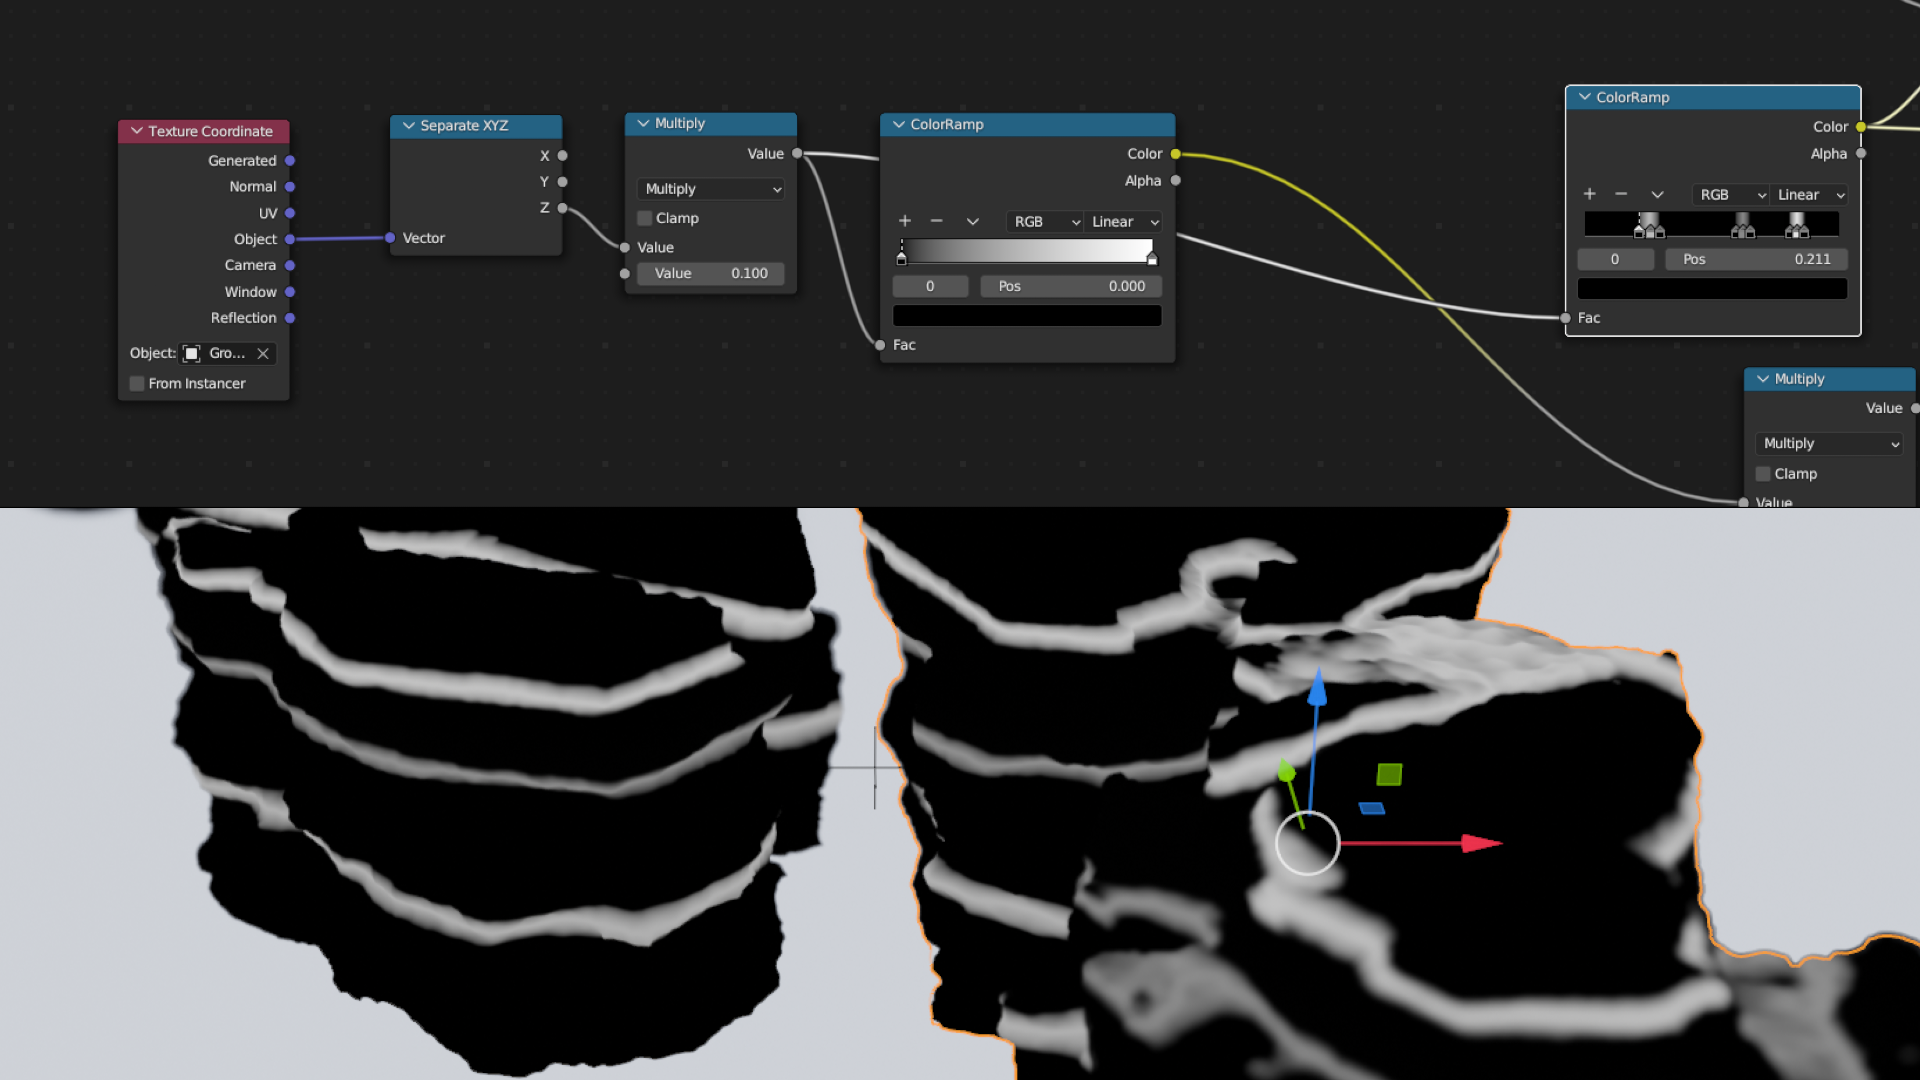
Other than that, I used an ambient occlusion shading node to drive the colour. Multiple built in Blender noise textures were used to drive bump and displacement in the shading et voila!
Super helpful tutorials for this workflow were Adrien Lambert and gsTuts.