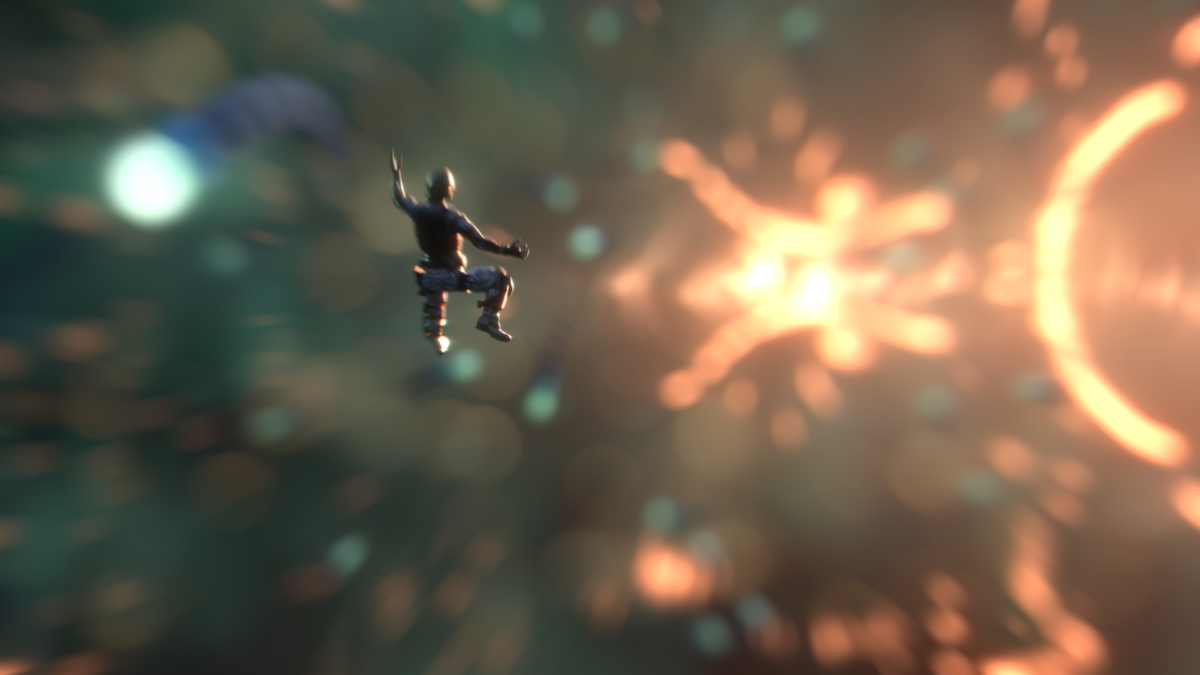
I am going to dive into the making of the above shot, a recent personal project inspired a bit by the VFX in the new Ant Man trailers.
There were some really cool particle effects by Cartesian Caramel in Blender and I tried to learn his technique. Blender 3.5 is set to have simulation nodes that can loop a series of nodes, but I read in comments that this is quite buggy at present. Entagma demonstrated an alternative hack in one of their videos, known as the 'Buffer Method'.
In this method you start by applying a unique geometry nodes to two different objects (one I named sim and the other one buffer), and then in each create an 'Object Info' node that references the geo of the other object.
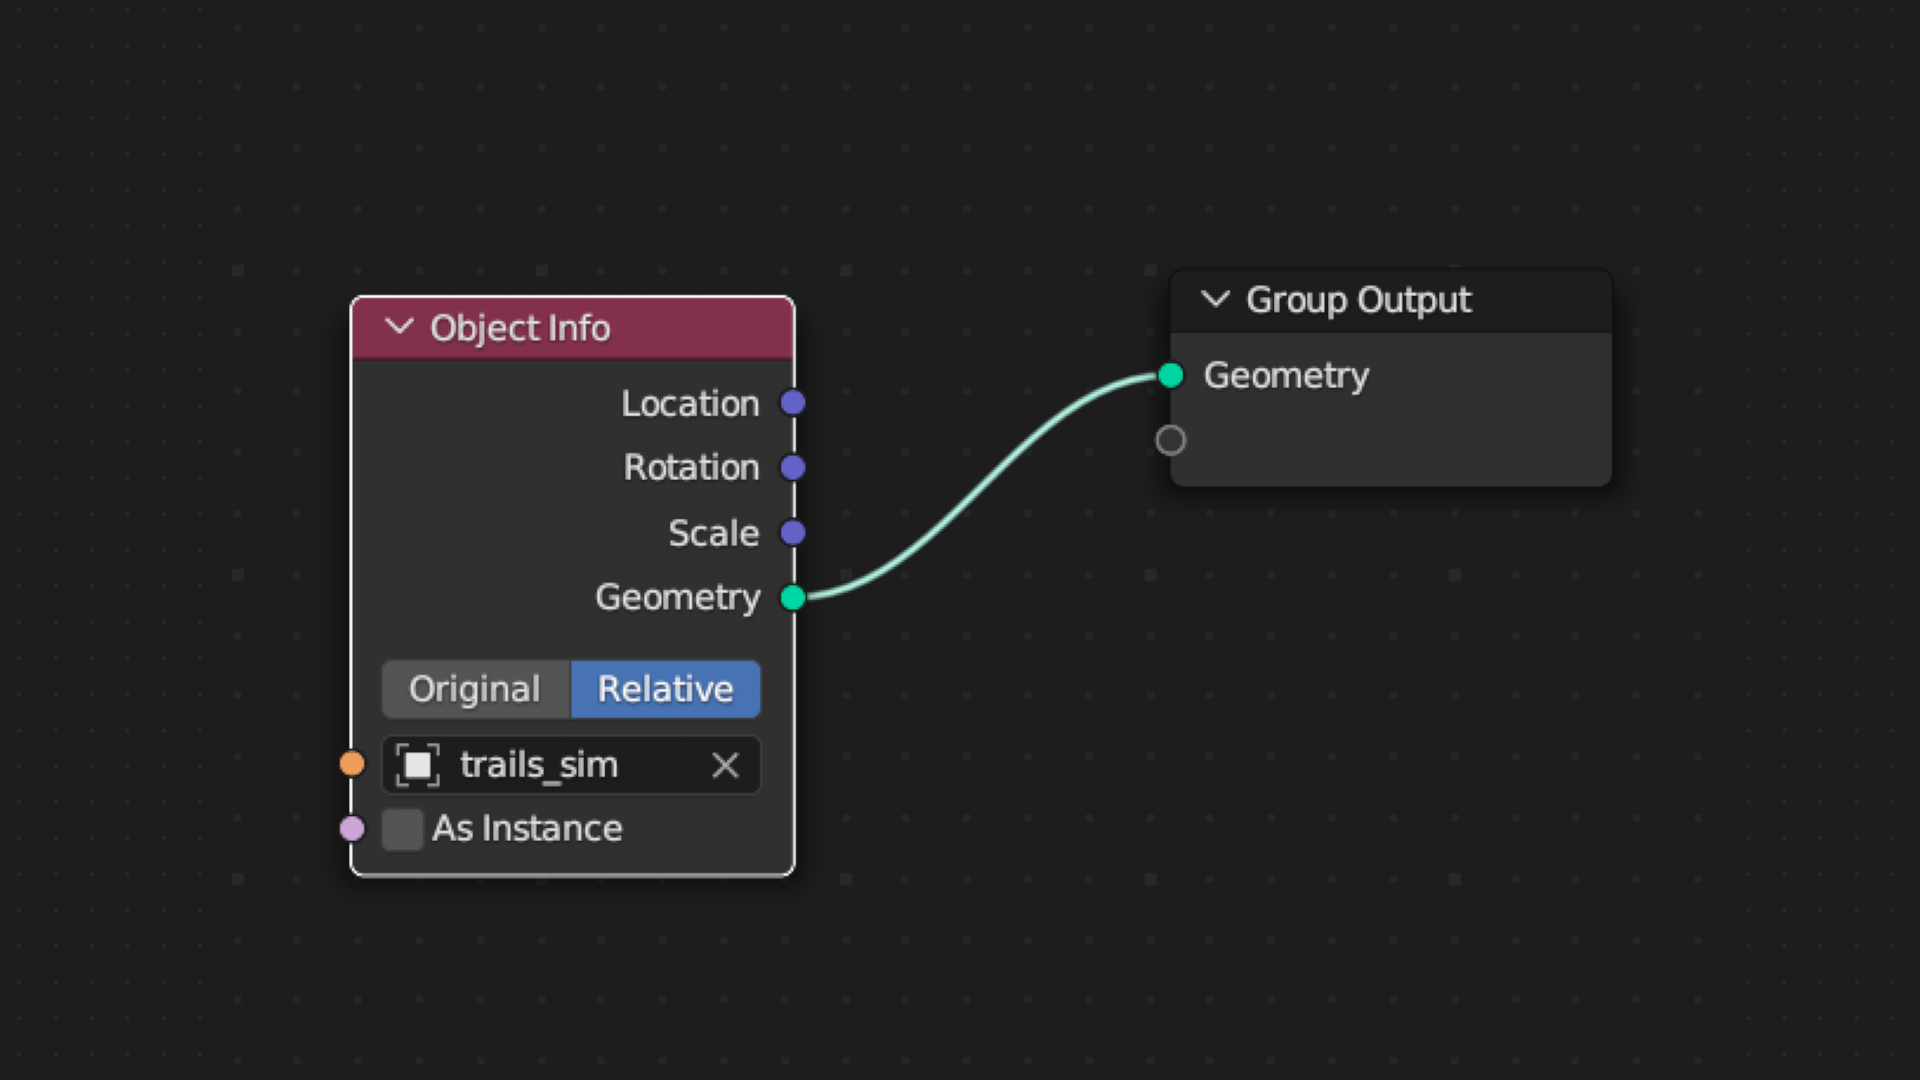
The geometry nodes in the 'buffer' objects were the same across all of the particle effects used in this project.
For the geometry nodes in the 'sim' objects, the only nodes that carried over were the ones in the buffer method frame below:

With the logic here, every frame all the nodes between the output of the switch node and the geo output would be evaluated every frame.
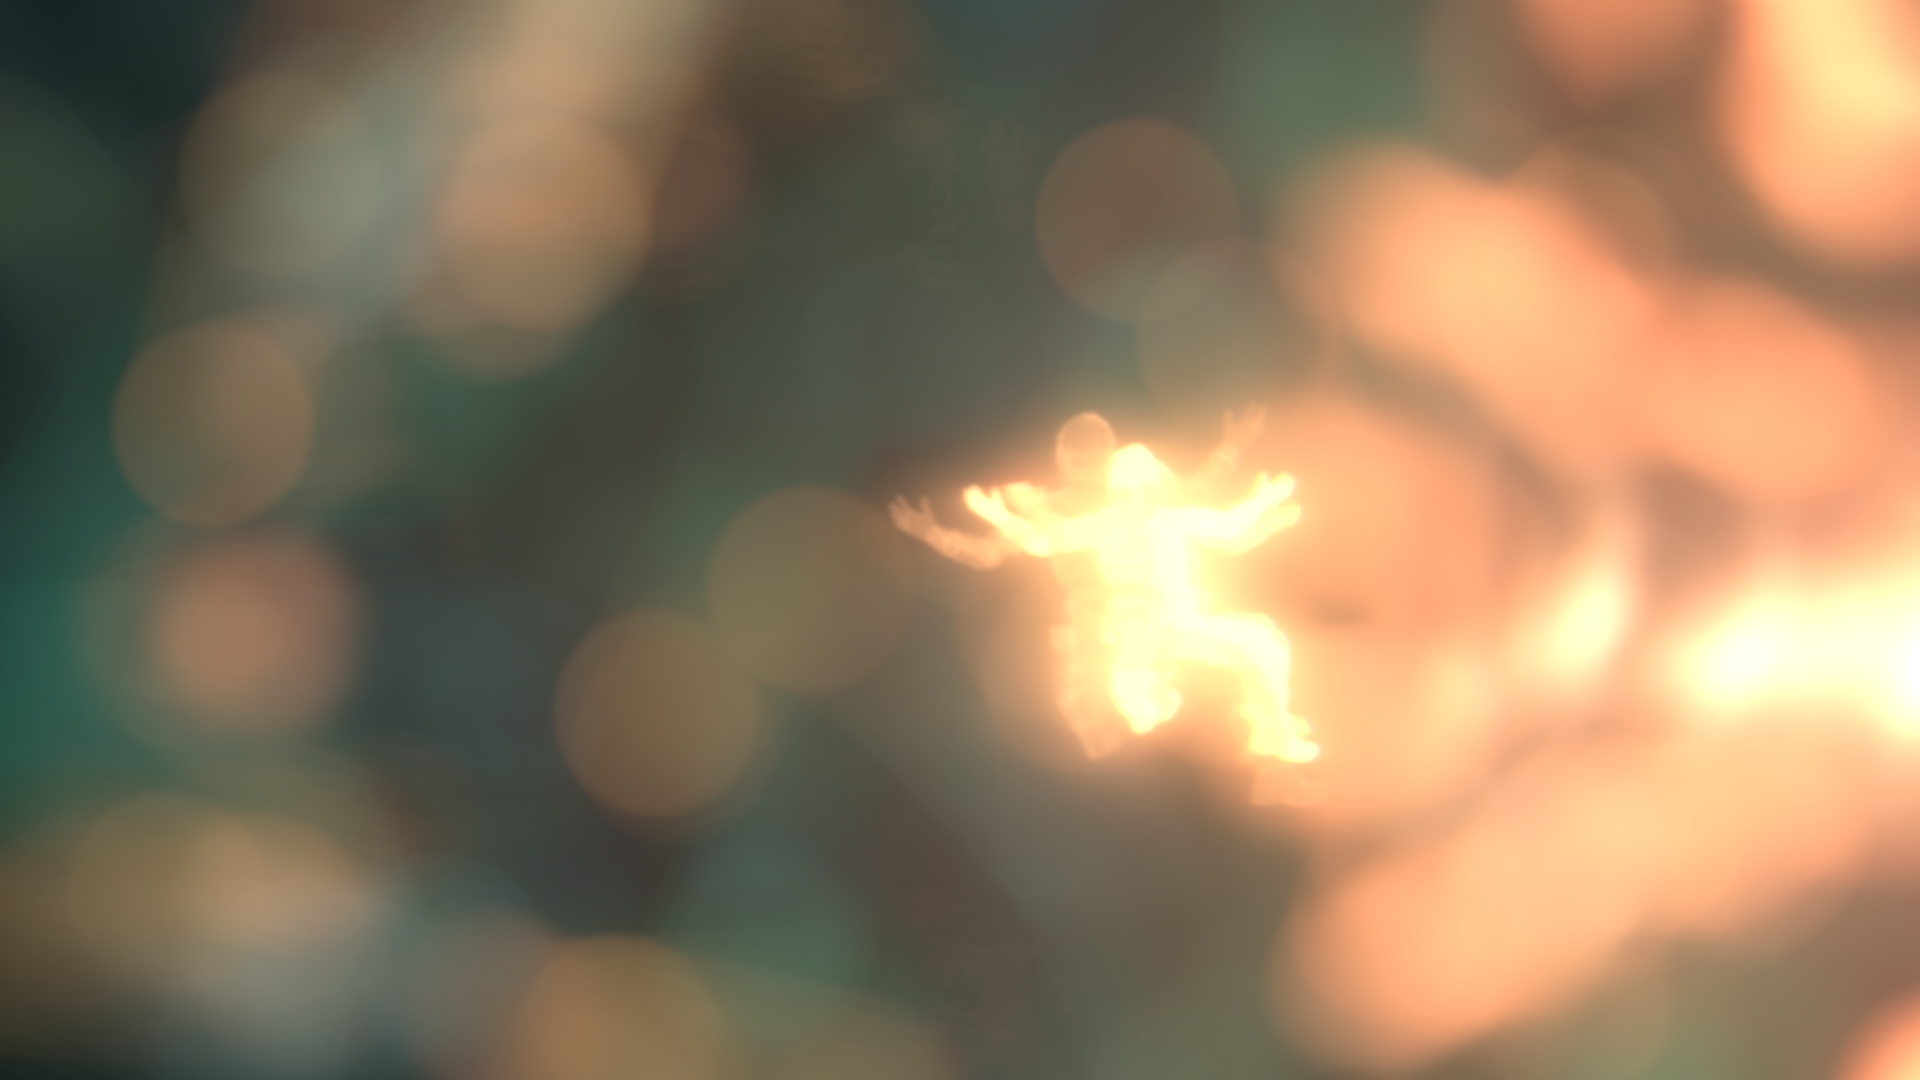
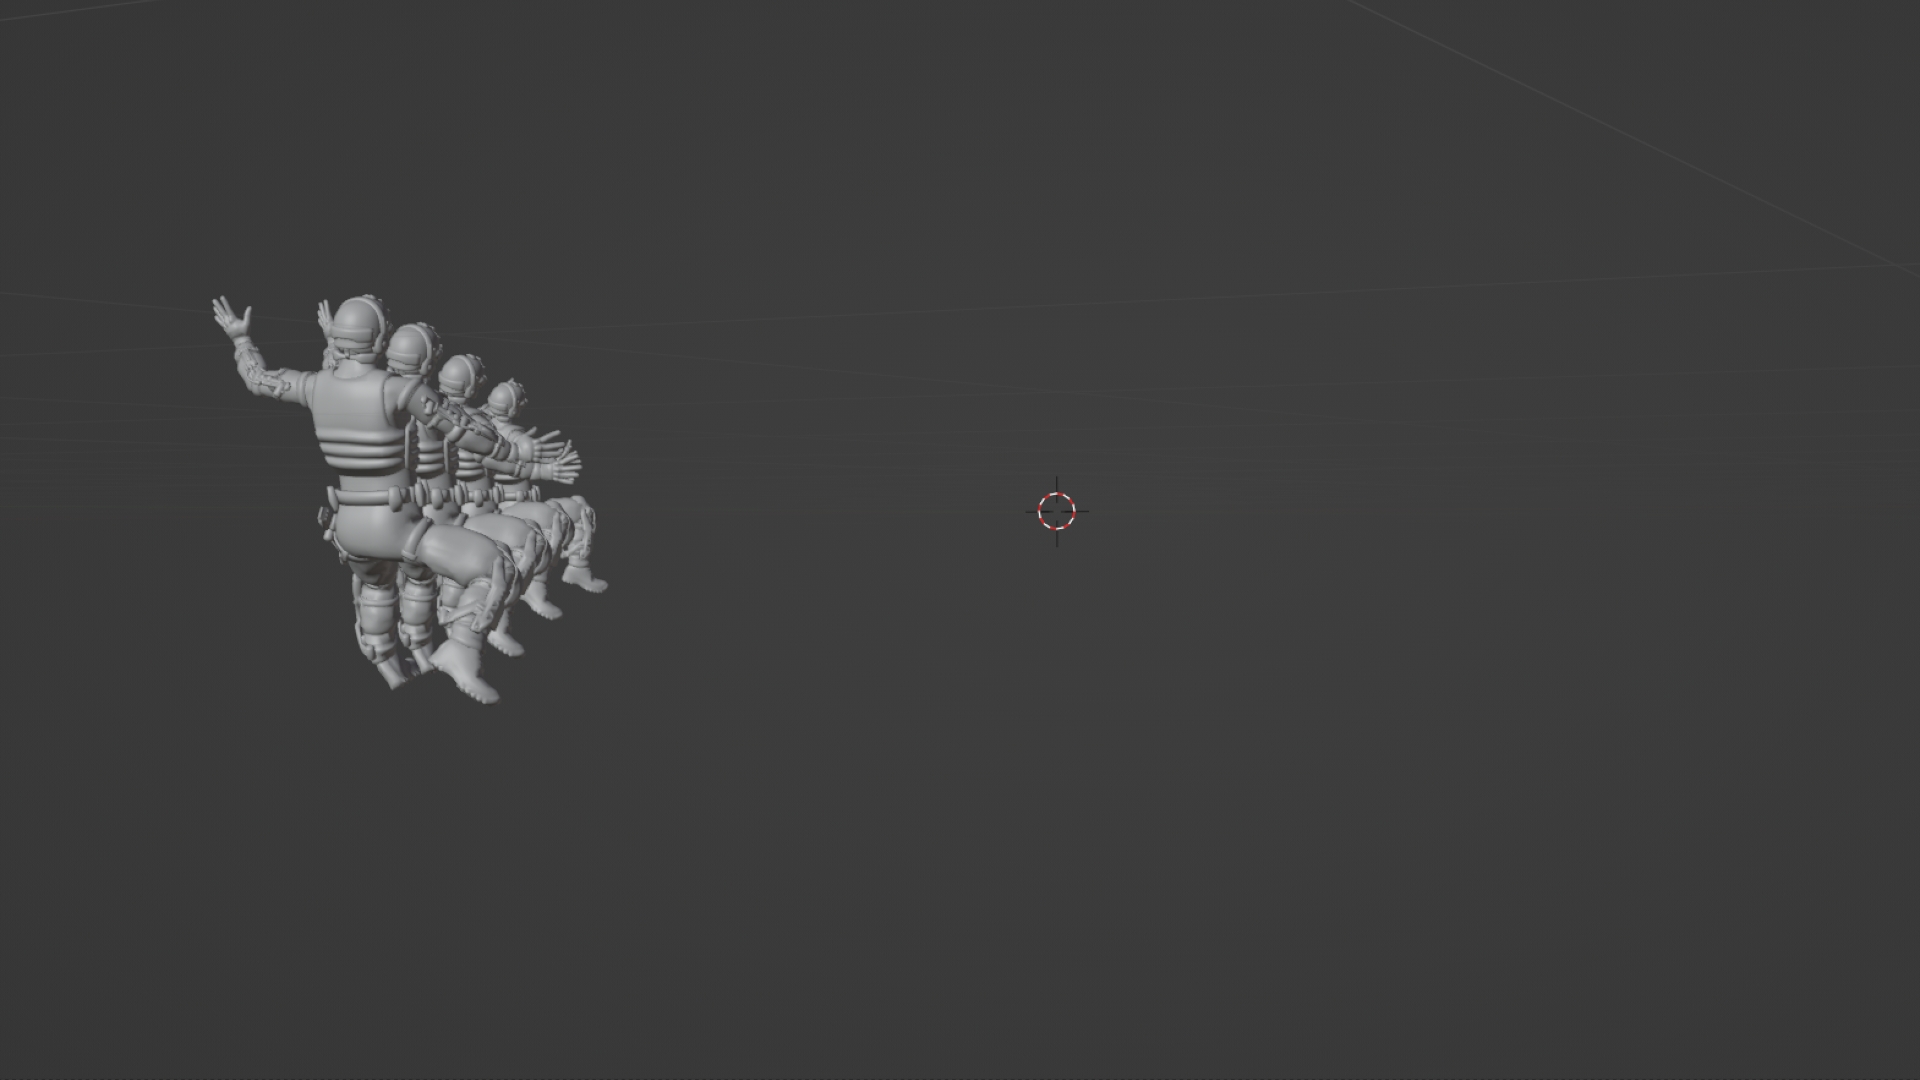
In the specific case above, I was using the loop to create some geometry trails of the character as he shrank.
This was done by joining the geo in the current frame of the character animation to the existing geometry of the simulation. Frames of the animation I did not want were then deleted, such as geo that was older than 8 frames or geo whose birth frame was on an odd number (to get some more separation between the trail echoes).
The same looping effect was used to generate some cool particle effects that were used in the shot.
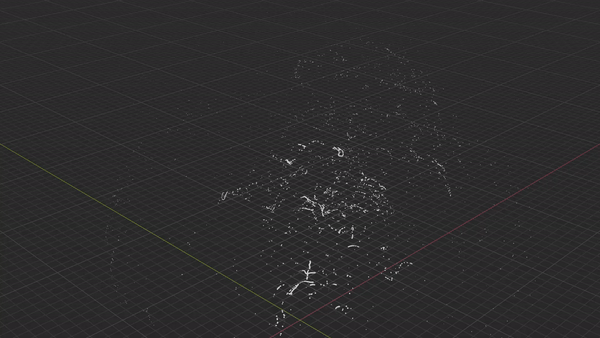
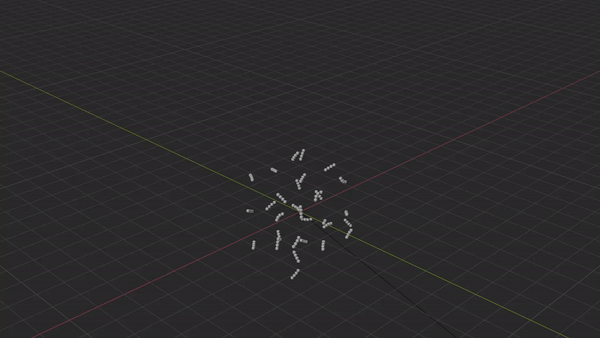
A lot of these particles effects were placed and rendered separately to easily iterate and tweak values in particles when I was viewing the shot in comp.
The particles were rendered in Eevee while the character was rendered in Cycles for more photoreal accuracy (the character and its animation was taken from Mixamo).
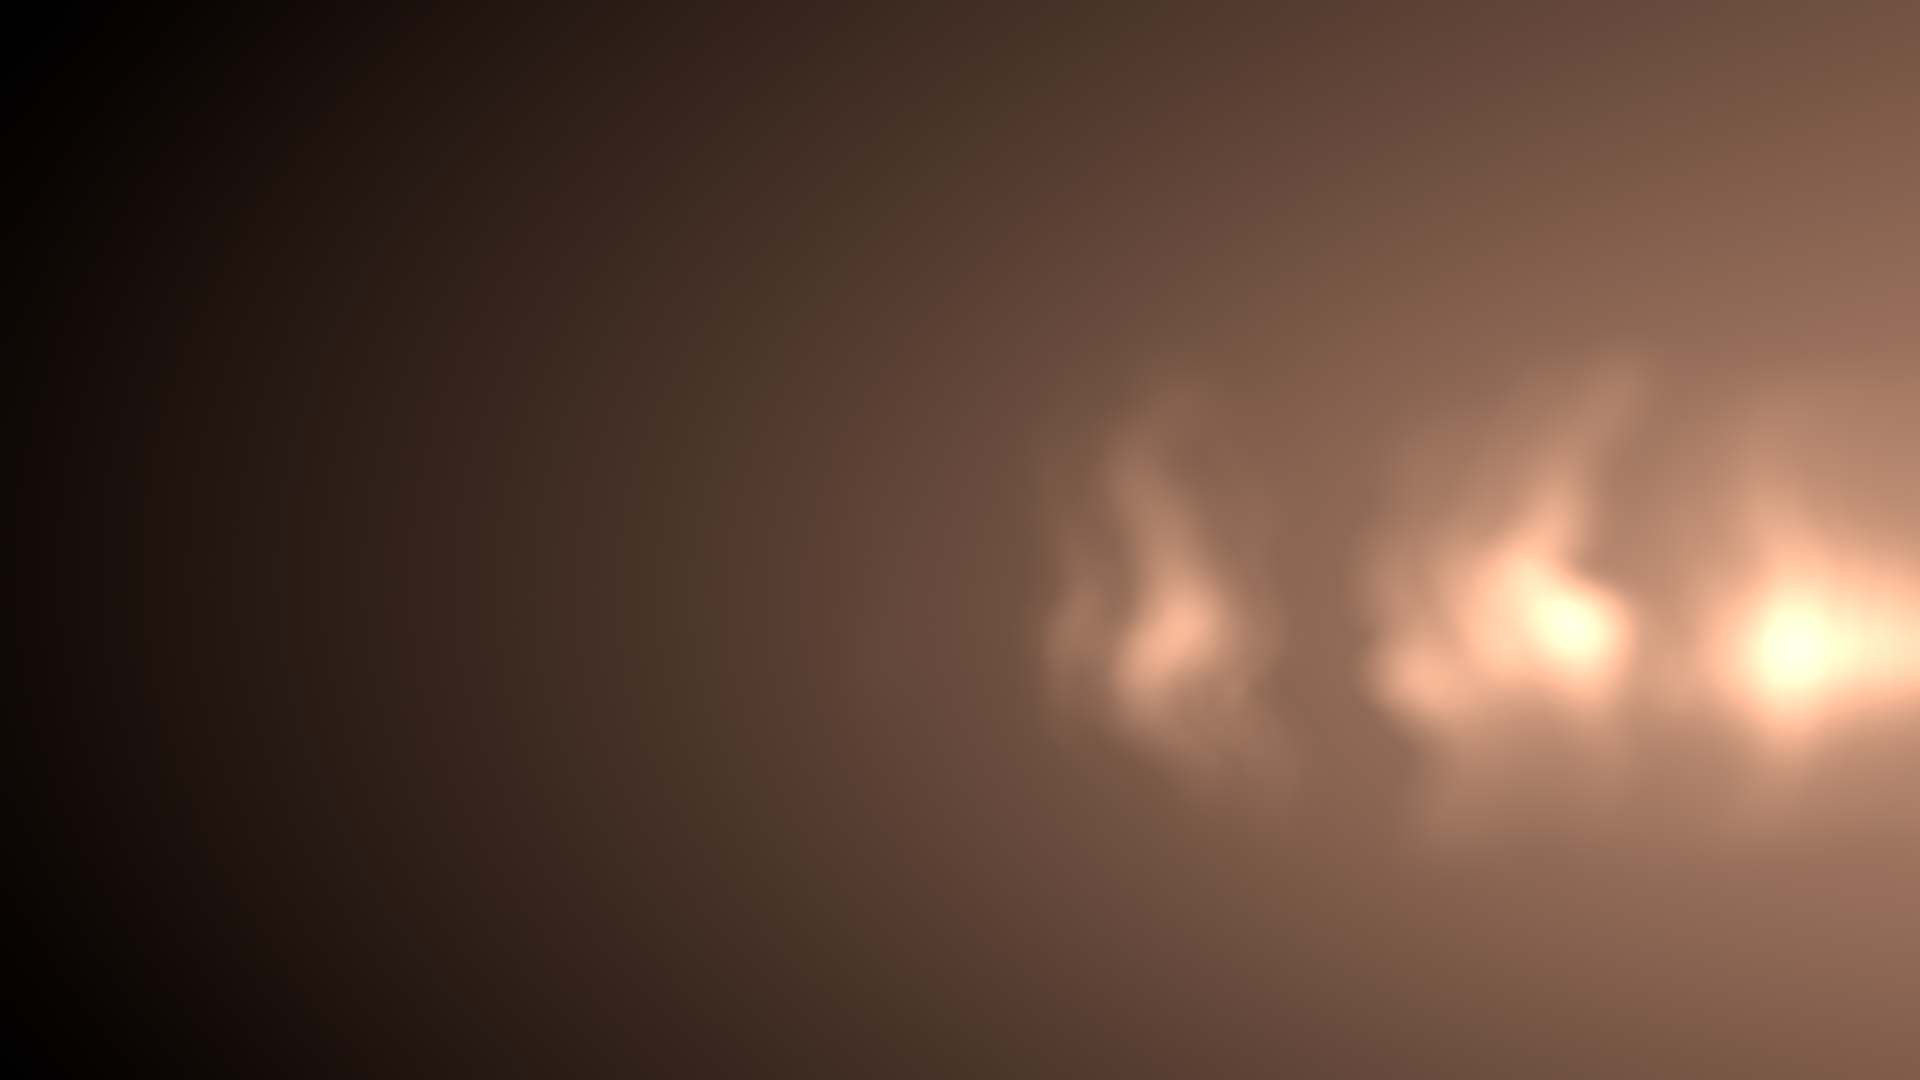
Because the character was not interacting with the background aside from lighting I took the liberty of rendering DOF in Blender rather than adding this in comp. I just had to match the DOF roughly with the few assets built in Nuke (like the one below).